Introduction
PVE Panel turns a Proxmox VE environment into a lightweight self-service platform. Customers sign in to their own portal and manage only the servers assigned to them: power actions, live status, usage graphs, snapshots, a browser console, VPN access, and — when you allow it — creating, reinstalling and resizing servers from templates you offer.
Administrators keep control over templates, quotas, ownership, networking, sign-in methods and the lifecycle of every server, in a separate admin interface.
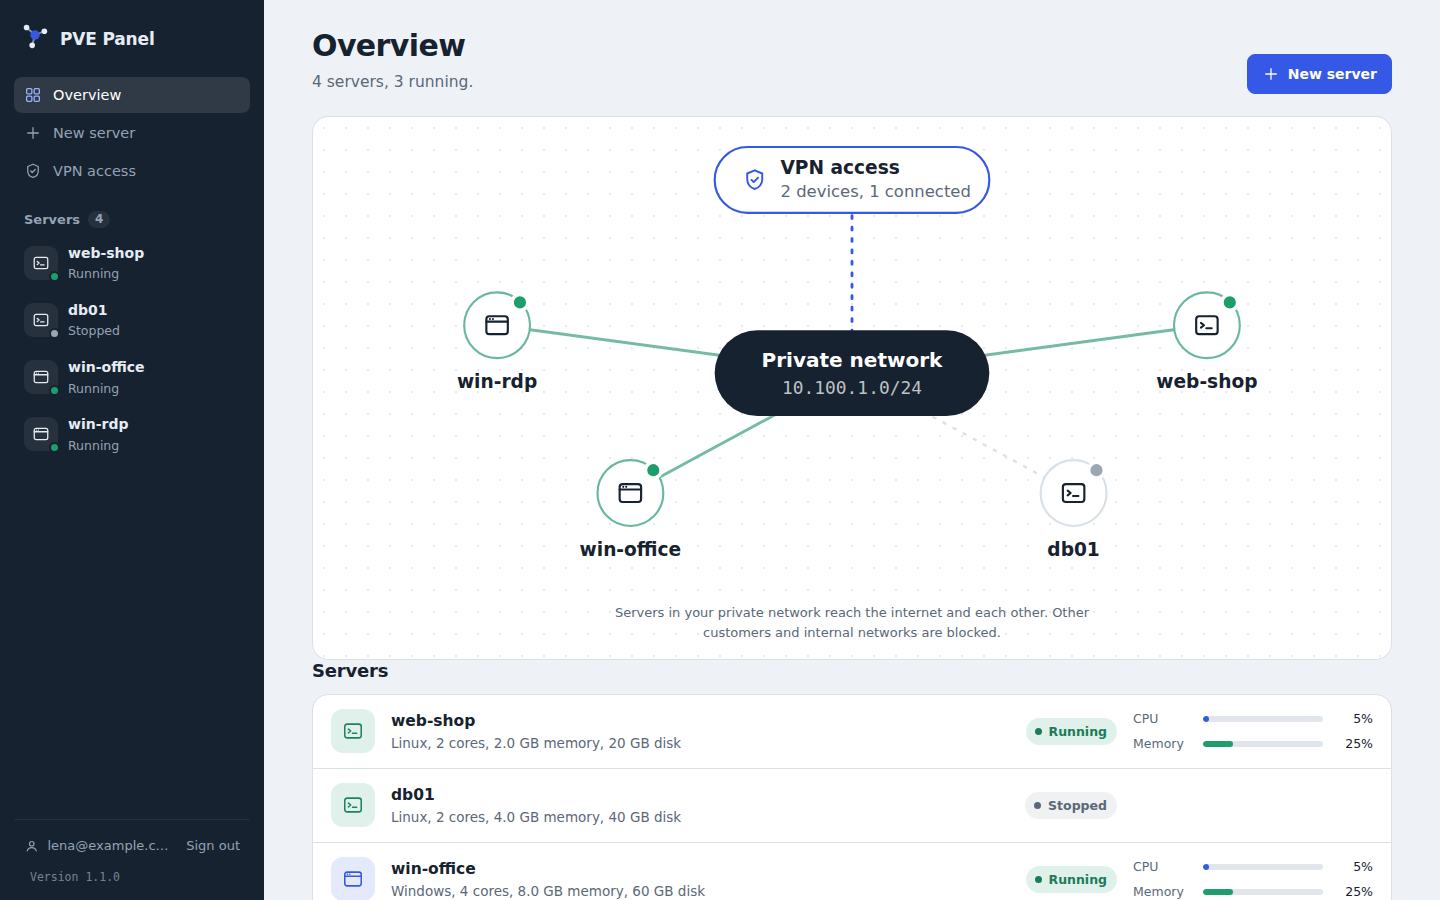
How it fits together
Customers ──▶ :3000 customer portal ─┐
                                     ├─ PVE Panel (Fastify + SQLite) ──(API token)──▶ Proxmox VE
Admins ─────▶ :3001 admin interface ─┘   (localhost only by default)
- The two ports are separate web servers in one process, with separate session cookies and signing keys. The customer server has no admin routes at all.
- The browser never talks to Proxmox and never sees the API token.
- Every per-server request is checked against the panel's ownership records first; a server that isn't the customer's returns 404, the same as one that doesn't exist.
What's in this documentation
| Section | For |
|---|---|
| Getting started | Running the panel for the first time |
| Installation | Proxmox permissions, Docker, Portainer, NAS, HTTPS |
| Features | What customers can do |
| Networking | Private customer networks, WireGuard, Tailscale |
| Templates | Preparing Linux and Windows templates |
| Security | Security model, 2FA, single sign-on |
| Administration | Customers, email, updates, branding |
| Troubleshooting | Known problems and their fixes |
| Reference | Configuration, API, CLI, project layout |
AI-assisted
PVE Panel was built with substantial help from an AI assistant. Read AI-assisted development before using it in production.